We love it when homeowners take on DIY projects like installing their own tiled backsplash.
Creative Tile Imports has been helping do-it-yourself home owners in the Lehigh Valley create amazing kitchens, baths and more, for over a decade.
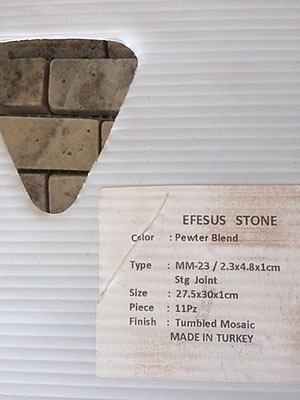
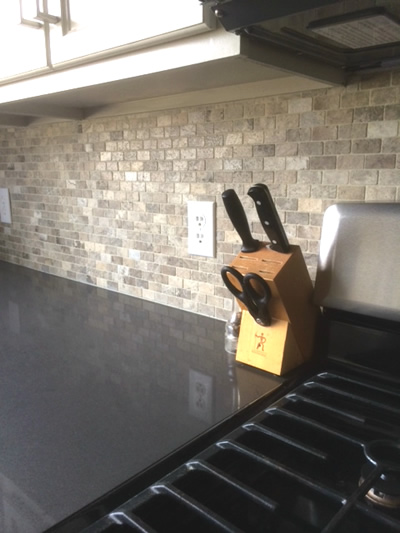
Recently we were asked to locate some Turkish tumbled tile to finish off a fabulous kitchen transformation in Breinigsville. We found what the homeowners wanted and it was not long before they were installing the new tile!

Removing Old Tile and Prepping Wall Area:
First, the homeowners had to remove the current ceramic subway tile, and patch any holes.
Installing The Tile:
Next, they installed the tile. It comes in 12″ x 12″ squares and is affixed to a mesh backing making it easy to apply. In total it took approximately 7 hours to get everything installed on about 26 linear feet of backsplash.
Seal and Grout:
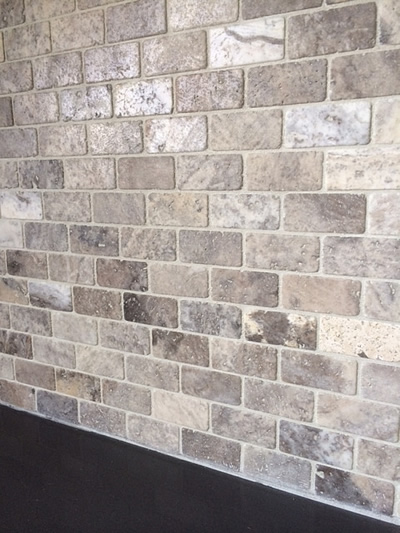
After letting the tile adhesive dry the homeowners were ready to add a a few coats of sealer/enhancer. Efesus Stone is quite porous so sealing and enhancing prior to grouting helps the tile maintain its varied colors. After the tile was sealed the homeowners began grouting using a light pewter color. This is where the backsplash starts to come to life! An additional two coats of sealer/enhancer was applied to the tile and grout. The last and final step was caulking the gap between their quartz countertop surface and bottom of tile. We provided a matching sanded light pewter caulk that mimiced the look of the grout perfectly.
Summary of Steps:
1. Remove existing tile and prep walls for new tile. (don’t forgot to pickup and install electrical box extenders if you are using a thicker style grout like our Efesus Stone)
2. Install tile using standard tile adhesive
3. Seal tile to enhance color
4. Grout tile
5. Seal tile one last time to protect the grout
6. Caulk tile
We have included some pictures forwarded by our homeowners below on the project. To learn more and see additional product samples about kitchen tile visit our tile gallery.


